Run WTware on micro computer with Rockchip processor
Installation consists of two stages. WTware uses linux kernel from original firmware. So at first you should flash your device with latest original firmware. Not with WTware, but with original image, the latest released by device manufacturer. We advice to use original manufacturer firmware, not modifications.
You MUST find and update firmware. If there will be problems with WTware, any tech support response will start from: "Flash device once more and install WTware once more".
Check whether Ethernet and WiFi work correctly with original firmware.
Read our instruction for flashing of original firmware and adding WTware code to it.
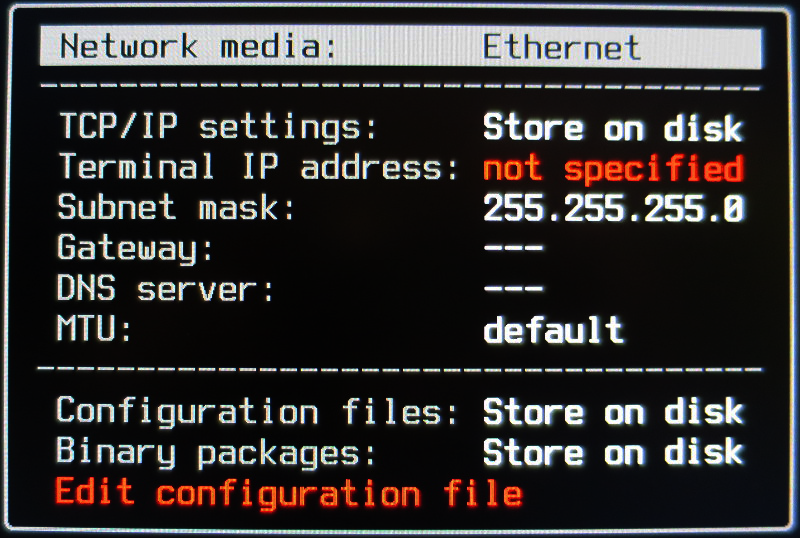
After flashing of original firmware and WTware code you'll see such menu on device screen:

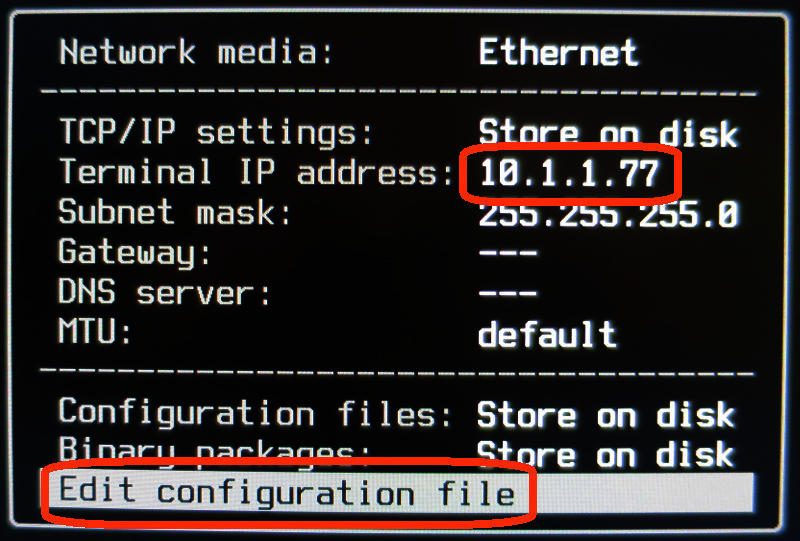
Specify IP of this terminal. Not of terminal server! IP address, that terminal will use. Then edit configuration file:

The simplest configuration file consists of one line: "server=10.1.1.80". Instead of 10.1.1.80 specify terminal server IP address. The same address as you specify in windows when connect to remote desktop in mstsc.exe:

That's enough for start. Save configuration file by pressing F2, press Esc to leave menu, and you should see logon window to server on the screen.
It's simple. If something doesn't work - please, ask on WTware ARM forum
.